
How to deploy a Symfony application
using kamal
Post by Pedro Resende on the 29 of May of 2024 at 21:30
Tags: devdevelopmenttutorialsymfonykamal

This week, I've decided to spend some time investigating how hard it would be to use Kamal, which is entitled "Kamal offers zero-downtime deploys, rolling restarts, asset bridging, remote builds, accessory service management, and everything else you need to deploy and manage your web app in production with Docker. Originally built for Rails apps, Kamal will work with any type of web app that can be containerized.".
But instead of deploying a regular Ruby On Rails application, to deploy a Symfony application
Before I proceed, let me explain what Symfony is, it's a set of reusable PHP components and a PHP framework for web projects.
Let's begin by installing Symfony locally, I'm assuming you already have PHP, Ruby and Docker installed on your OS.
$ wget https://get.symfony.com/cli/installer -O - | bash
Now, let's create a new project using the Symfony framework, by running
$ symfony new kamal-deploy-project
after running this command you should see something like this
* Creating a new Symfony project with Composer
  (running /usr/local/bin/composer create-project symfony/skeleton /Users/pedroresende/Projects/kamal-deploy-project  --no-interaction)

* Setting up the project under Git version control
  (running git init /Users/pedroresende/Projects/kamal-deploy-project)


 [OK] Your project is now ready in /Users/pedroresende/Projects/kamal-deploy-project
Now that we have our symfony project created, let's start by adding a new controller responsible for the health check of the application.
In order to do that, let's create a new file src/Controller/HealthController.php, with the following content.
<?php

namespace App\Controller;

use Symfony\Bundle\FrameworkBundle\Controller\AbstractController;
use Symfony\Component\HttpFoundation\Response;
use Symfony\Component\Routing\Attribute\Route;

class HealthController extends AbstractController
{
  #[Route('/health', name: 'health')]
  public function health(): Response
  {
    return $this->json(['status' => 'ok']);
  }
}
Let's boot our symfony application to verify that everything is in order, in order to do that you need to tun
$ symfony serve
If you open your browser on the address http://localhost:8000/health you should see the response
{"status":"ok"}
Let's install kamal on our symfony project by running
$ kamal init
You'll notice that it will create a few files, the configuration file config/deploy.yml and the sample hooks under .kamal/hooks. We're going to ignore the .kamal/hooks for now, since we don't need them.
Opening the config/deploy.yml file you'll find the following content
# Name of your application. Used to uniquely configure containers.
service: my-app

# Name of the container image.
image: user/my-app

# Deploy to these servers.
servers:
  - 192.168.0.1

# Credentials for your image host.
registry:
  # Specify the registry server, if you're not using Docker Hub
  # server: registry.digitalocean.com / ghcr.io / ...
  username: my-user

  # Always use an access token rather than real password when possible.
  password:
    - KAMAL_REGISTRY_PASSWORD
The first thing you need to update is the service and image, the service will be the name of the docker container and the image will be the name of the image in Hub.docker.com.
After updating your content you should have something like, you're going to notice that I've added a new section called healthcheck, this is going to be used to guarantee your application is working correctly.
# Name of your application. Used to uniquely configure containers.
service: kamal-deploy-project

# Name of the container image.
image: pmmresende/kamal-deploy-project

# Deploy to these servers.
servers:
  - 192.168.1.250

# Credentials for your image host.
registry:
  # Specify the registry server, if you're not using Docker Hub
  # server: registry.digitalocean.com / ghcr.io / ...
  username: pmmresende

  # Always use an access token rather than real password when possible.
  password:
    - KAMAL_REGISTRY_PASSWORD

healthcheck:
  path: /health
  port: 8080
  max_attempts: 50
  interval: 20s
Finally you need to add a new entry to your .env file, with KAMAL_REGISTRY_PASSWORD and the access token from your Hub.docker.com.
After logging into docker Hub, you need to go to security and you need to create a new access token.
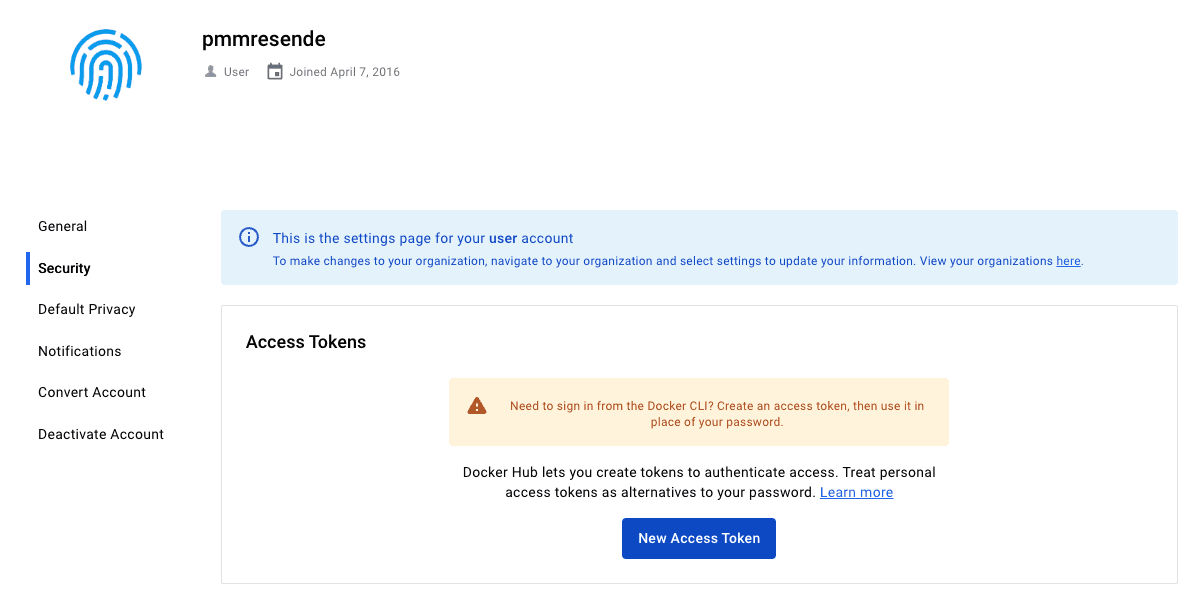
After pressing the New Access Token button, you'll be presented with the following
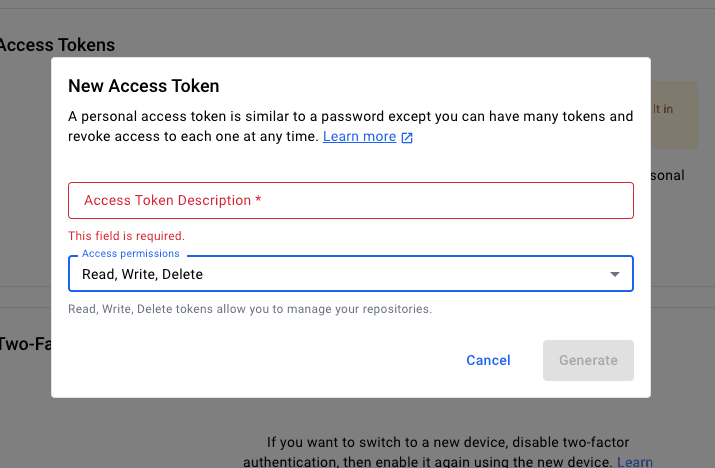
After providing an access token description and pressing the Generate button, you'll be presented with the personal access token, which is our KAMAL_REGISTRY_PASSWORD value
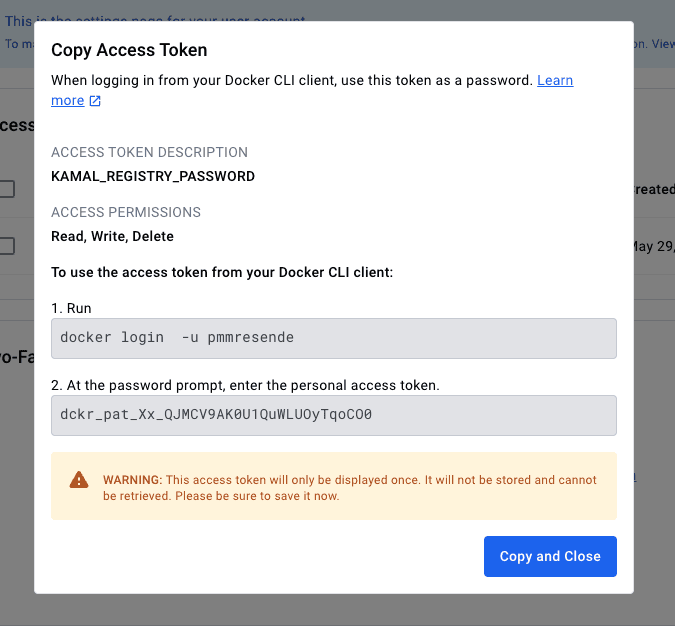
you need to add the following to you .env file dckr_pat_Xx_QJMCV9AK0U1QuWLUOyTqoCO0=dckr_pat_Xx_QJMCV9AK0U1QuWLUOyTqoCO0
Now, let's create a Dockfile, at the root of the project, responsible for housing our application, with the following inside
FROM serversideup/php:8.3-unit

ENV SSL_MODE=off
ENV PHP_OPCACHE_ENABLE=1

USER root

RUN apt-get update && apt-get install -y git && rm -rf /var/cache/apk/*

USER www-data

COPY --chown=www-data:www-data . /var/www/html

RUN cd /var/www/html \
  && composer install --no-dev --optimize-autoloader \
  && bin/console assets:install --symlink
Finally, commit everything, by running
$ git add . && git commit -m 'feat: inital commit'
Now, to deploy, you need to run the command, for the first deployment and the next ones will simply be kamal deploy
$ kamal setup
After a while, you're going to see the following in your terminal.
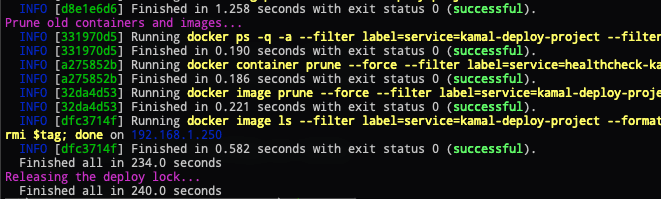
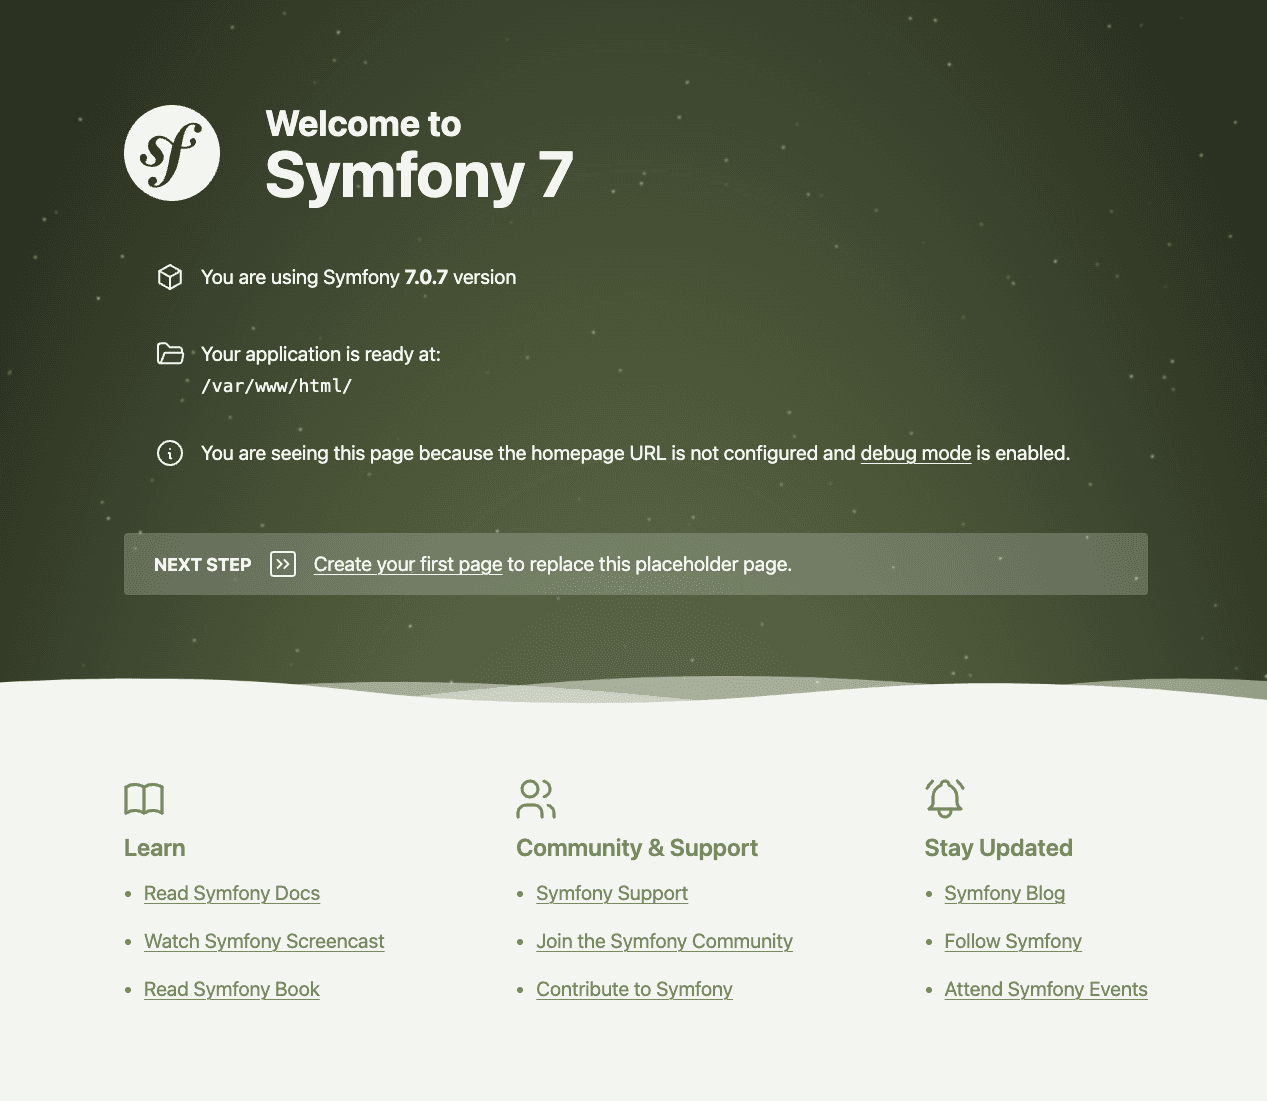
if you open your browser using the IP address of your server/vps you'll see the following
That's it. Please let me know what you thinkabout this tutorial, would you change anything or add something?