How to create a Notion database connected to Nuxt.js
as my blog CMS
Post by Pedro Resende on the 9 of April of 2023 at 16:40
Tags: nuxt.jsnotiondatabaseblog

Recently, I've moved from Jolpin to Notion, due to syncronization problems.
For that reason, I've decided to investigate the possibility of building a blog with a notion database. This would be perfect, to have notion, which is a note taking app with the possibility of creating a database with blog posts.
I've also decided, to use Nuxt.js, instead of my beloved Next.js. Not that I don't love Next.js, but to test the vue.js side.
So, let's start by creating a plain Nuxt.js project, and in order to do that, you need to run the following command
npx nuxi@latest init blog-nuxt
https://www.notion.so/pmmr/bb11e9f3564e4c5b98c86eeee26077f0?v=444311500561470b805743884420179b&pvs=4 you're going to get something like the following
Need to install the following packages:
  nuxi@3.3.3
Ok to proceed? (y) y
Nuxi 3.3.3                                                                                                                                                                                                                                                                                                                                                        19:40:24
✨ Nuxt project is created with v3 template. Next steps:                                                                                                                                                                                                                                                                                                          19:40:26
 › cd blog-nuxt                                                                                                                                                                                                                                                                                                                                                   19:40:26
 › Install dependencies with npm install or yarn install or pnpm install                                                                                                                                                                                                                                                                                          19:40:26
 › Start development server with npm run dev or yarn dev or pnpm run dev
then, you should go inside the folder and use your prefered package manager
cd blog-nuxt && npm install
after a couple of minutes, you'll be presented with the following
npm WARN deprecated sourcemap-codec@1.4.8: Please use @jridgewell/sourcemap-codec instead

> postinstall
> nuxt prepare

Nuxi 3.3.3                                                                                                                                                                                                                                                                                                                                                        19:41:49
✔ Types generated in .nuxt                                                                                                                                                                                                                                                                                                                                        19:41:52

added 610 packages, and audited 611 packages in 56s

97 packages are looking for funding
  run `npm fund` for details

found 0 vulnerabilities
The project has the following folder structure
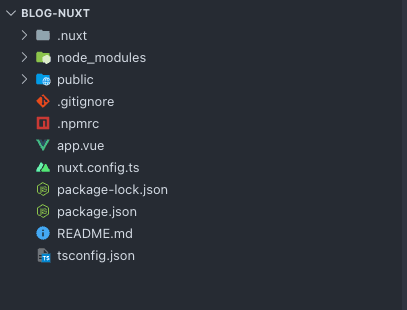
Let's start by creating a folder called server and inside another, called api.
Inside that, I'll create a new file called notion.get.ts and let's add the following:
import { Client } from "@notionhq/client"

const notion = new Client({
  auth: process.env.NOTION_TOKEN,
})

export default defineEventHandler(async (event) => {
  const listOfPages = await notion.databases.query({
    database_id: process.env.NOTION_DATABASE as string,
  })

  const blocks = []
  for (let i = 0; i <= listOfPages.results.length - 1; i++) {
    const properties = listOfPages.results[i].properties

    const block = await notion.blocks.children.list({
      block_id: listOfPages.results[i].id,
      page_size: 50,
    })

    blocks.push({
      title: properties.Name.title[0]?.plain_text,
      state: properties.Status.status?.name,
      content: block?.results,
    })
  }

  return { posts: blocks, count: blocks.length }
})
now, we need to create a file, at the root of the project called .env. Inside, you're going to store the NOTION_TOKEN and NOTION_DATABASE, let's add the following:
NOTION_TOKEN=secret_notion
NOTION_DATABASE=notion_database
now we need to install two packages
npm install @notionhq/client
npm install --save-dev @types/node
Ok, now let's build the integration on notion side, to do that, you need to go the website Developers Notion. You need to click on the top right side, on the View my integrations link.
After the login, click on the New integration button. Start by providing a title
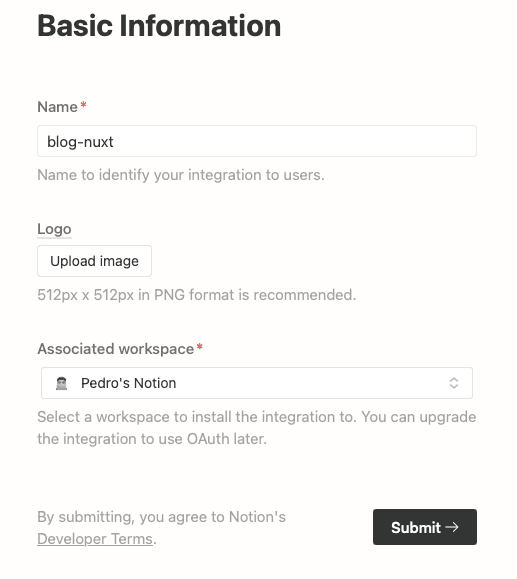
Click the Submit button.
You'll be redirected to the Secrets page, where you can fetch you secret by clicking on "Show". That value should be used as the NOTION_TOKEN in the .env file.

Now, let's create our database. Open the notion application, and click on Add page, then select table
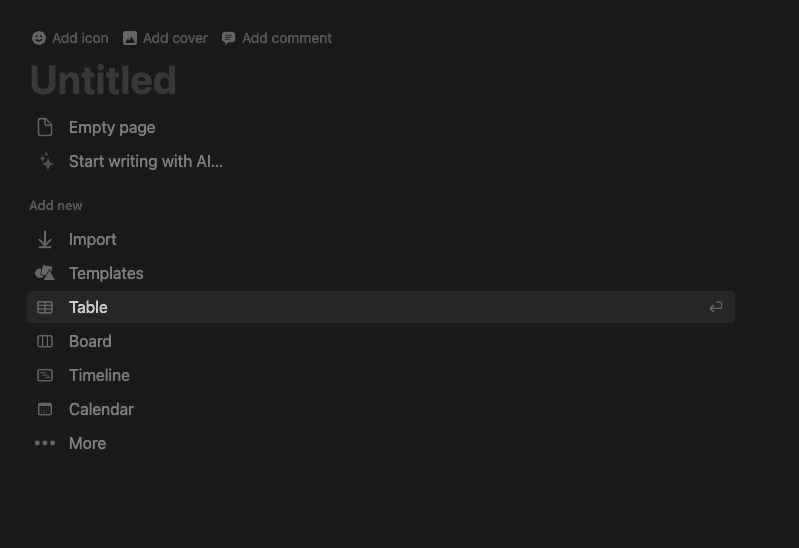
and finally New database
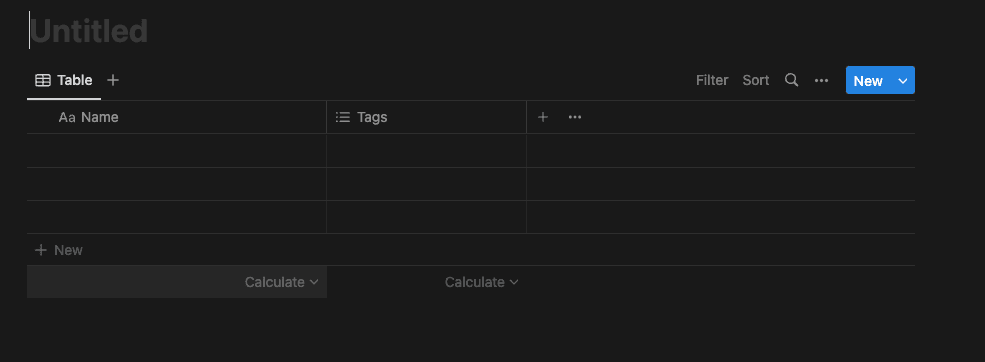
Click on the second column and replace the tags by, Status and the third column by text. It should look like the following:
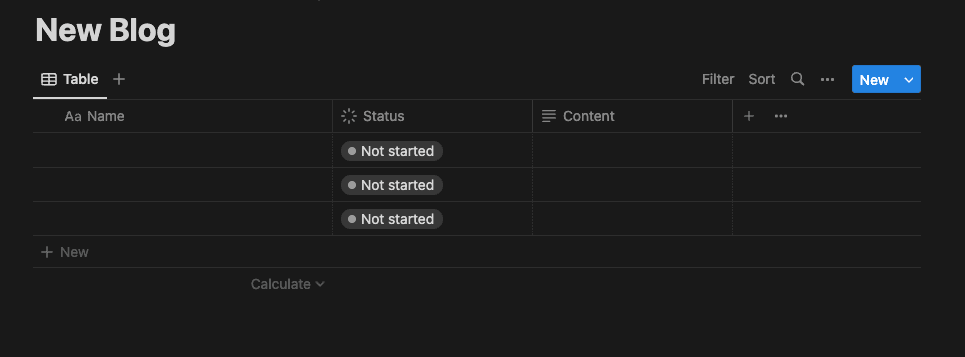
Now let's add some content, on the first line, the first column will be responsible for the title, the second for the status and the third for the post text

Now click on the three little dots, next to the New button, and select Copy link to View. That link will contain the NOTION_DATABASE to be set on the .env file.
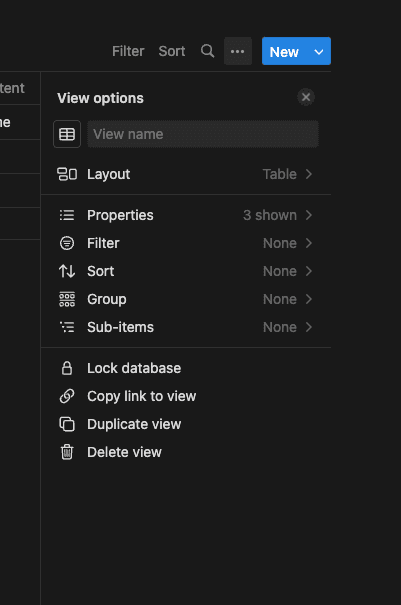
In my case the link looks something like
https://www.notion.so/meds/bb99e9f356434c5b98c86ddde26077f0?v=444311500561470b805743884420179b
You'll need to copy the number bb99e9f356434c5b98c86ddde26077f0 and set it in the .env file.
Now click on the three little dots, on the top right and select blog-nuxt, which is the name of the integration.
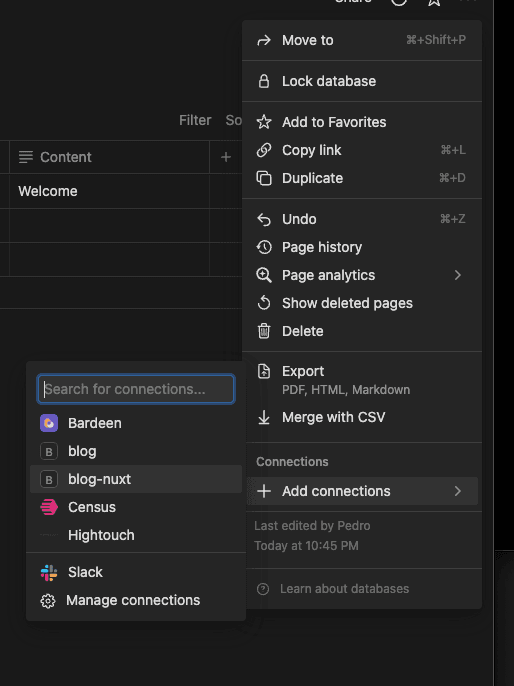
Let's add some content, has the following:
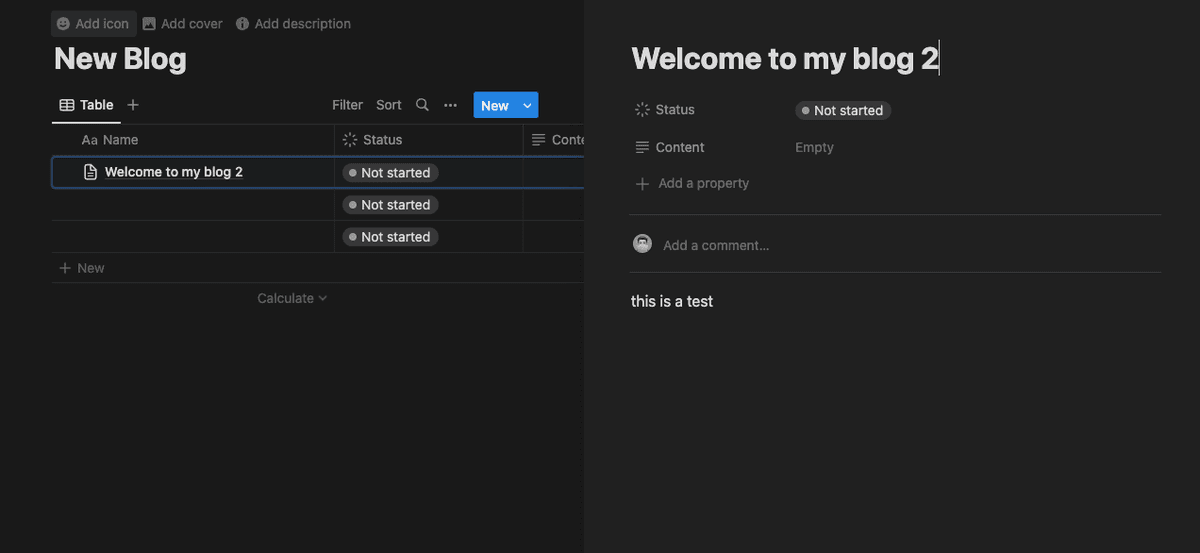
Let's boot up nuxt.js an attempt to retrieve the notion's content. For that, you need to run
npm run dev
and in your browser, open the following page http://localhost:3002/api/notion. You'll get the following response
{
  "posts": [
    {
      "state": "Not started",
      "content": []
    },
    {
      "state": "Not started",
      "content": []
    },
    {
      "title": "Welcome to my blog 2",
      "state": "Not started",
      "content": [
        {
          "object": "block",
          "id": "3140cbfe-8932-4739-b0c4-46e4912a9439",
          "parent": {
            "type": "page_id",
            "page_id": "f7ee854b-b452-4adc-a562-e9f931618552"
          },
          "created_time": "2023-04-09T16:23:00.000Z",
          "last_edited_time": "2023-04-09T16:23:00.000Z",
          "created_by": {
            "object": "user",
            "id": "0e5844c1-b545-4a5e-9b75-5d8880a876ed"
          },
          "last_edited_by": {
            "object": "user",
            "id": "0e5844c1-b545-4a5e-9b75-5d8880a876ed"
          },
          "has_children": false,
          "archived": false,
          "type": "paragraph",
          "paragraph": {
            "rich_text": [
              {
                "type": "text",
                "text": {
                  "content": "this is a test",
                  "link": null
                },
                "annotations": {
                  "bold": false,
                  "italic": false,
                  "strikethrough": false,
                  "underline": false,
                  "code": false,
                  "color": "default"
                },
                "plain_text": "this is a test",
                "href": null
              }
            ],
            "color": "default"
          }
        }
      ]
    }
  ],
  "count": 3
}
Now, for the rendering part, let's create a folder called page and inside a file called index.vue, with the following:
<script lang="ts" setup>
const { data } = await useFetch<{ posts: any[]; count: number }>("/api/notion")
</script>

<template>
  <div class="relative min-h-screen">
    <div class="pb-4 text-lg">Welcome to my blog</div>
    <section
      class="text-gray-600 body-font overflow-hidden md:container md:mx-auto mt-0 px-4 py-8 md:py-0"
    >
      <article v-if="data" v-for="post in data.posts">
        <h1 class="text-lg border-b">{{ post.title }}</h1>
        <Content :body="post.content" />
        <br />
      </article>
    </section>
  </div>
</template>
Now, let's create a new folder called components and a file called content.vue, with the following:
<script lang="ts" setup>
const props = defineProps(["body"])
</script>

<template>
  <div v-if="props.body.length > 0" v-for="p in props.body">
    <p v-if="p.paragraph.rich_text.length > 0">
      {{ p.paragraph.rich_text[0].plain_text }}
    </p>
    <br v-else />
  </div>
</template>
finally, open the app.vue file at the root of the project and replace it with the following
<template>
  <NuxtPage />
</template>
Refresh you browser, on the page http://localhost:3002 and you'll get the following
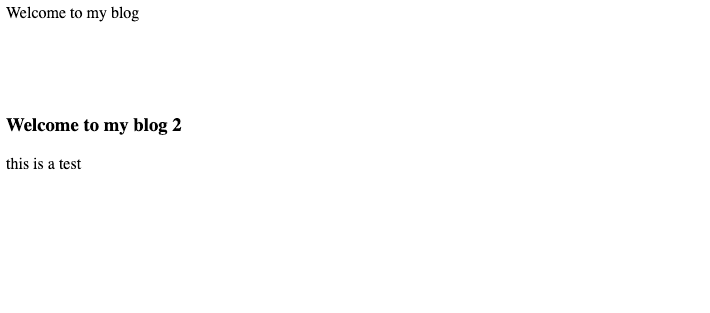
Now, all you have to do it's to follow the instruction on how to install tailwindcss.
And that's all. Please let me know what you about this tutorial, would you change anything or add something?
